
In today's video, Channing shows YOU how to install instant shelving brackets in a shipping container. This brackets are for the Not-So Handyman as it requires ZERO tools. Hope you learn something!
Hanging Shelf Brackets Installation Inside Shipping Containers
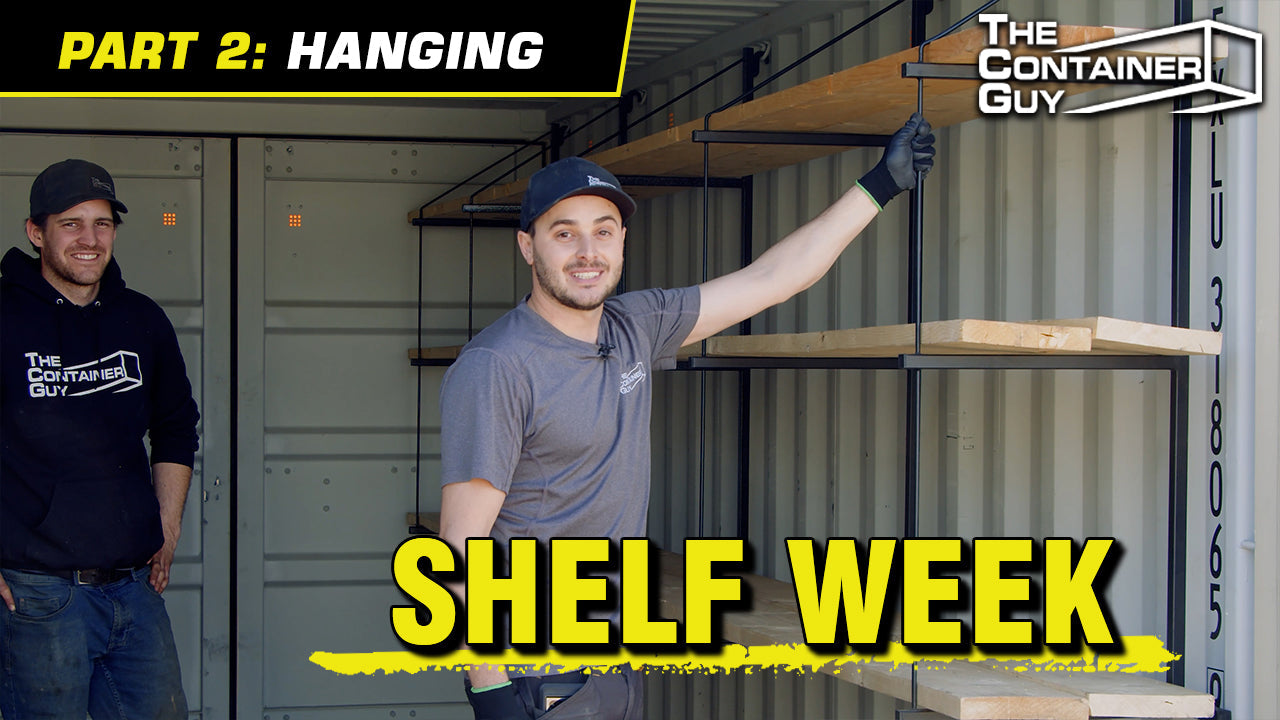
Channing McCorriston, The Container Guy, demonstrates how to install hanging shelf brackets inside a shipping container. This system is designed to be fast, simple, and tool free, making it ideal for users who want quick storage without complex setup.
The video walks through compatibility, installation quantity, safety tips, and common issues such as warped lumber.
What Are Hanging Shelf Brackets
These brackets hang directly from the factory D rings found in most 20 foot and 40 foot shipping containers. No drilling, welding, or tools are required for the primary installation.
You purchase the brackets and supply your own lumber, typically 2x10 boards. The brackets include a T bar that keeps the shelving aligned to a plumb plane so the shelves do not tilt inward or outward.
The brackets are patented in the United States and sold in Canada.
Container Compatibility
The system works with:
-
New and used 20 foot containers
-
New and used 40 foot containers
-
Standard height containers
-
High cube containers, which are approximately one foot taller
Shelf height will vary depending on container height.
How Many Brackets Are Needed
General guidelines:
-
Five brackets per wall for a 20 foot container
-
Ten brackets per wall for a 40 foot container
Shelving does not need to run the full length of the container. You can install partial runs and leave open space for equipment such as:
-
Quads
-
Snowmobiles
-
Pallets
-
Larger machinery
Installation Process Overview
-
Hang the brackets on the existing D rings
-
Insert both boards into the bracket
-
Nails located at the back of the bracket drive into the wood and secure it in place
-
Ensure the first bracket is plumb and level
-
Continue installing additional brackets
The first course of shelving requires the most attention. Once it is level and aligned, additional shelves are easier to install.
Safety Considerations
During installation:
-
Watch for finger pinch points when snapping boards into place
-
Make sure brackets are seated correctly on the D rings
-
Confirm door clearance before finalizing shelf height
The shelves are tested to ensure container doors can close properly after installation.
Wood Fit and Warping Issues
Shipping containers can act like kilns in hot weather. Heat buildup can cause lumber to:
-
Shrink
-
Twist
-
Warp
If boards are not fully pressed into the bracket nails, shelves may pop out or bow.
A solution is to:
-
Screw a piece of wood or metal across the boards
-
Drill through the bracket square tubing and screw into the lumber for added stability
This adds strength when using warped or scrap lumber.
Tool Free Design Limitations
The main benefit of this system is speed and simplicity. However, the tool free approach has tradeoffs.
If wood is twisted or does not fit snugly, there is limited adjustment unless you add screws or hardware.
Users must balance convenience with the occasional need for manual reinforcement.
Key Takeaways from The Container Guy
-
Hanging shelf brackets provide a fast, simple shelving solution
-
No tools are required for basic installation
-
Proper leveling of the first bracket is critical
-
Wood movement inside containers must be accounted for
-
Additional screws can improve stability if needed
-
The system works well for users who want quick storage without complex planning
Quantitative Details
| Parameter | Value |
|---|---|
| Brackets per 20 foot wall | 5 |
| Brackets per 40 foot wall | 10 |
| Recommended lumber | 2x10 |
| Alternative lumber | 2x6 possible |
| Tools required | None for basic install |